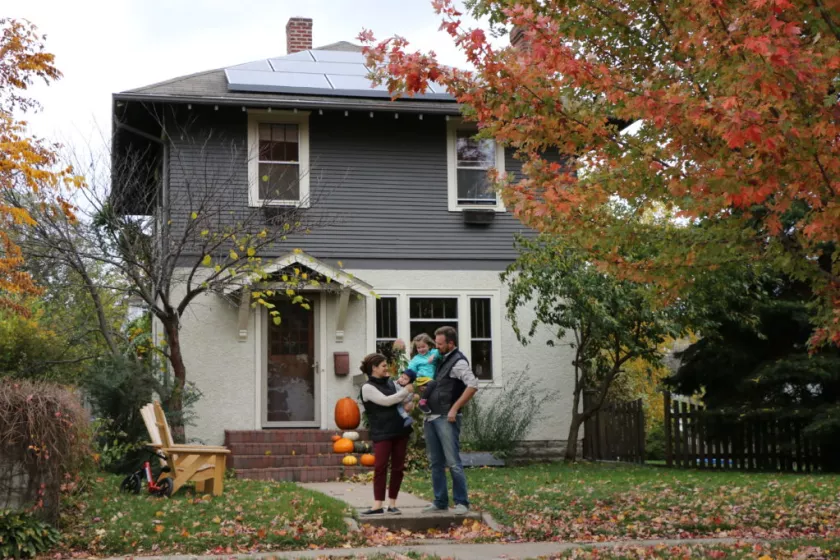
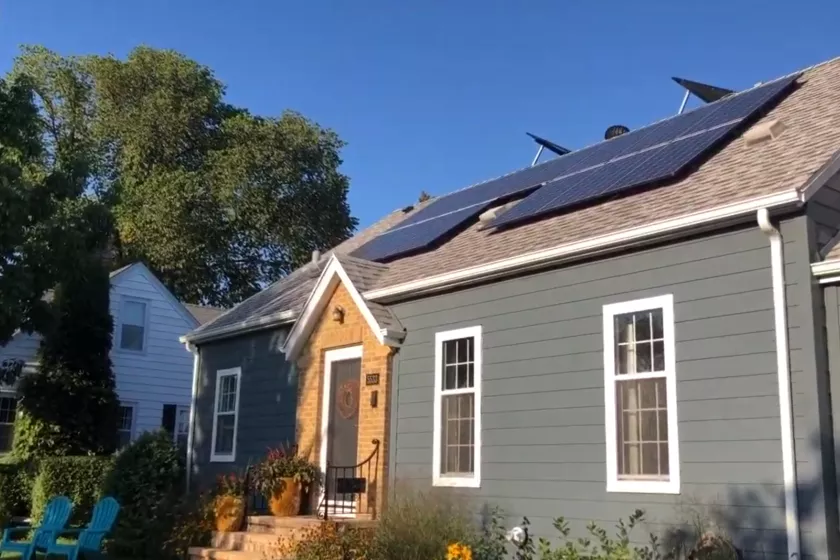
In this guide to solar, we are focusing on grid-connected PV systems, which are the simplest, most common, and least expensive option. You use electricity produced by your PV system, and any extra electricity your system produces goes out to the grid. During times when you are using more electricity than your system produces, you purchase that electricity from the grid.
In Minnesota, if your grid-connected PV system is under a certain size, your utility must pay you (with a credit) for the extra electricity you produce and put back on the grid. This is called net metering. The utility must give you a credit (per kWh) for your excess generation. The amount of that credit is regulated and is based on the utility’s average retail rate; it may or may not be identical to the rate that you pay for electricity, but it will usually be in the same ballpark.
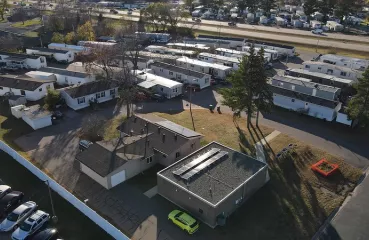
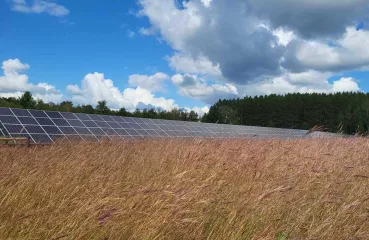
The net metering size limit for a PV system depends on the type of electric utility you have. If your utility is an investor-owned utility (Minnesota Power, Xcel Energy, or Otter Tail Power), your annual production limit is 120% of your annual consumption and your system size cannot exceed 1 MW (1000 kW). If your utility is an electric cooperative or municipal utility, your PV system size must be smaller than 40 kW. If your system is larger than this, you will not be eligible for net metering. (For a sense of scale, a 40 kW array is about the size of a tennis court and can meet the needs of about 4 average Minnesota homes.)
The main disadvantage of a simple grid-connected system is that if the grid goes down (you lose power from your utility), your PV system automatically shuts down too. There is a simple safety reason for this: it is essential that your PV system not put electricity onto powerlines when utility workers are repairing them. If you want to have power when the grid goes down, you need a system that is grid-connected with battery back-up. If you don’t have access to the grid at all (you are not connected to an electric utility) but instead produce all of your own electricity, you have a standalone system. Both of these options are more complex (and more expensive to install) than a simple grid-connected system.
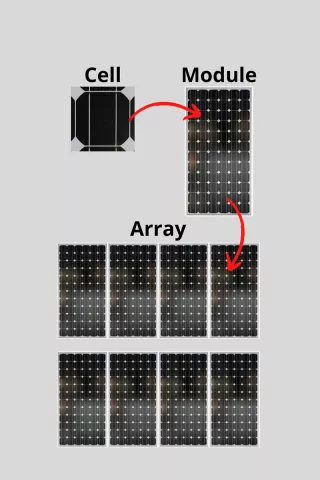 Solar cells — also called photovoltaic (PV) cells — convert sunlight into electricity. They are the building blocks of solar modules.
 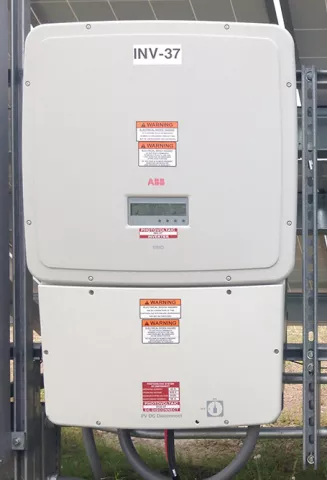 A string inverter is a centralized inverter, usually installed near your electrical service entrance (meter or circuit breaker panel). It is usually the less expensive option, and if there is a maintenance issue, it is generally easier to troubleshoot. You can expect to replace your string inverter about halfway through the lifespan of your system (typical warranty period for sting inverter is 8-12 years).